
Bosses
Slayers 2 boss locations, respawn timers, attack patterns and drop tables, plus the raid chest and Yen farming loops that fund your upgrades.
Introduction
Bosses are where Slayers 2 stops being a farming game and starts testing whether you actually understand its combat systems. This section covers the boss roster and where each encounter sits on the level curve, the community reported spawn and respawn patterns including Muzan spawn locations, how to read attack patterns and telegraphs, which drops justify repeated kills, and how to structure a raid group so that roles complement rather than duplicate. We also cover the practical barriers most players hit: under levelled solo attempts, stamina exhaustion mid fight, and boss vulnerability windows that close before a burst rotation lands. True to the nature of Roblox boss data, spawn timers and exact drop rates shift between updates and community reports disagree, so spawn related figures here are presented as community reports rather than fixed values. If you are preparing for your first real boss attempt, read the requirements and group composition sections before you travel.
Boss Encounters and Requirements
| Encounter Tier | Level Guidance | Group and Strategy Notes |
|---|---|---|
| Early Bosses | Roughly 15 and above | Duo or trio is enough; learn telegraph reading here before harder fights. |
| Mid Tier Bosses | Roughly 45 and above | Bring a healer or a survivability build; stamina exhaustion causes most wipes. |
| Map 2 Bosses | Roughly 70 and above | Full party recommended; assign one player to hold aggro and one to interrupt. |
| Muzan | High level, group required | Spawn locations are community reported and rotate; scout before committing. |
| Raid Encounters | Endgame parties | Role composition matters more than raw level; raid chests are the main reward. |
Boss Strategy
Reading Boss Telegraphs
The single skill that separates a wipe from a clean kill.
Finding Muzan
Spawn locations rotate and community reports disagree, so verify the current spot before planning a full run.
Drops and Rare Rewards
Which bosses are worth farming repeatedly and which are one and done.
Group Composition
Roles that actually matter in a raid party, balanced across damage, control and healing.
Solo Attempt Mistakes
Why under levelled solo runs fail even with good mechanics.
Core Mechanics
Boss encounters in Slayers 2 are built around three interacting systems: telegraphs, vulnerability windows and stamina. Every boss telegraphs its heavy attacks with a distinct wind up animation, and reading that animation correctly is the primary defensive skill in the game, because dodging on reaction is far more reliable than trying to out heal the damage. Vulnerability windows are the offensive counterpart: after certain attacks and during specific phase transitions, the boss becomes briefly open to full damage, and organised groups hold their burst rotations for exactly those moments rather than attacking continuously. Stamina is the resource that ties both together, since dodging, sprinting and every skill all consume it, and a player who has been mashing attacks will have nothing left when the window they were waiting for finally opens. Layered on top is group scaling: boss health and behaviour are tuned for parties, so a solo attempt at the recommended level is not merely slower but often mechanically impossible, especially against encounters with phases that require simultaneous interrupt and damage.
Advantages
Learning boss fights pays off across the entire save rather than in a single encounter. Boss drops supply the materials and gear that carry you through level bands where ordinary mob farming stalls, and raid chests give the broadest reward pool in the game, which makes a well run raid party the most efficient use of a session. Boss fights are also where the combat skills that matter in PvP are actually built: reading telegraphs, budgeting stamina, and committing to burst inside a defined window transfer directly to duels against other players. Group play adds a second layer of value, since a party that has cleared a boss together will clear it faster on every subsequent run, and the roles players learn, aggro holding, interrupting, control, and burst, are exactly the roles that make endgame content approachable.
Challenges
Boss content is the least forgiving part of Slayers 2. The level guidance is real rather than advisory, and an under levelled solo attempt against a mid tier boss will usually end in a death and a lost run rather than a learning experience, because some phases simply require more than one player. Spawn information is unreliable: Muzan spawn locations rotate, community reports conflict on timers, and planning a session around a specific spawn often ends with nothing to fight. Stamina exhaustion is the silent killer in every fight, and players who never learn to hold their bar find that their damage output collapses in exactly the phase where it matters. Rare drop rates are also genuinely low, which means farming a specific item can take many runs, and raid parties are logistics heavy enough that a single disconnected member can scuttle an otherwise prepared attempt.
Frequently Asked Questions
What level should I be for bosses in Slayers 2?+
How do I find Muzan and does the spawn timer work?+
What is the best group composition for raids?+
Quick Tips
Learn one boss at a time instead of learning a roster. Every encounter has its own telegraph vocabulary, and the only way to internalise a wind up animation is to watch the same boss across many attempts until the pose registers before you consciously think about it. Players who rotate between five bosses every session take far longer to read any of them than players who repeat one fight until it feels automatic. Once a single boss is genuinely reflexive, the skills transfer to the next one noticeably faster.
Hold your burst for the vulnerability window, and keep your stamina full for it. The most common raid failure is not low damage; it is a group that spends all its stamina and cooldowns on chip damage and then has nothing left when the boss opens up. Watch the phase structure, stay above half stamina during the neutral game, and only dump your rotation once the wind up animation signals the opening. A single well budgeted burst window will out damage three minutes of continuous mashing against a fully armoured boss.
Treat all spawn timers as community reports and verify in game. Roblox boss spawn data shifts between updates, and community reported numbers for Muzan and Map 2 bosses regularly disagree with each other and with live behaviour. Plan your session around scouting rather than around a scheduled timer: travel as a group, check the reported locations, and commit once a spawn is confirmed. Groups that scout consistently waste far fewer runs than groups that travel alone on the strength of a number from a video.
Featured

Slayers 2 Boss Guide: All Bosses, Locations & Drops
Track every Slayers 2 boss from world spawns to Muzan, with spawn locations, level requirements, and the drop tables worth chasing in this Roblox RPG.
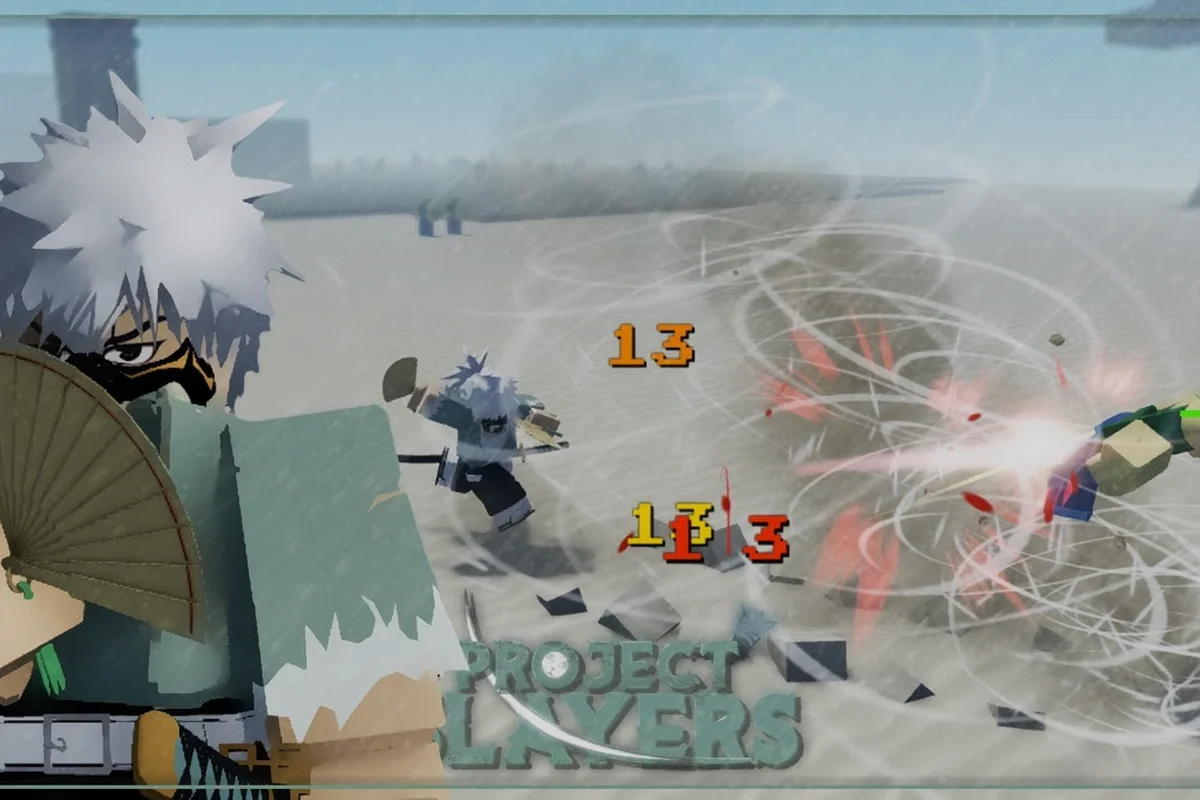
Slayers 2 Event Boss: Spawn Times, Drops & Tier Picks
Catch every Slayers 2 event boss with the right spawn timers, level requirements, and farming routes, and learn which ones top the boss tier list this patch.

Slayers 2 Muzan Boss Guide: Raid Start, Spawn & Loot
Start the Slayers 2 Muzan raid on time, track the respawn window, and learn which chests and rewards make this final boss worth the whole group.
All Articles

Slayers 2 Rare Drops: Best Boss Loot & Drop Rates
Hunt Slayers 2 rare drops with the boss chests that pay out most, real drop rate odds by rarity, and the solo damage builds that unlock exclusive loot.

Slayers 2 Boss Group Strategy: Roles & Map 2 Spawns
Coordinate Slayers 2 boss group strategy with role assignments, demon boss tells, and Map 2 spawn points your party needs to clear the final boss cleanly.

Slayers 2 Boss Respawn Guide: Spawn Points & Weakness
Pin down Slayers 2 boss respawn timers, every spawn point on the map, and the weaknesses that let you kill each boss before the next rotation.

Slayers 2 Boss Weapons: Materials, Armor & Farm Route
Farm Slayers 2 boss weapons and armor with the material route, raid team composition, and infinite raid tips that turn boss drops into endgame gear.
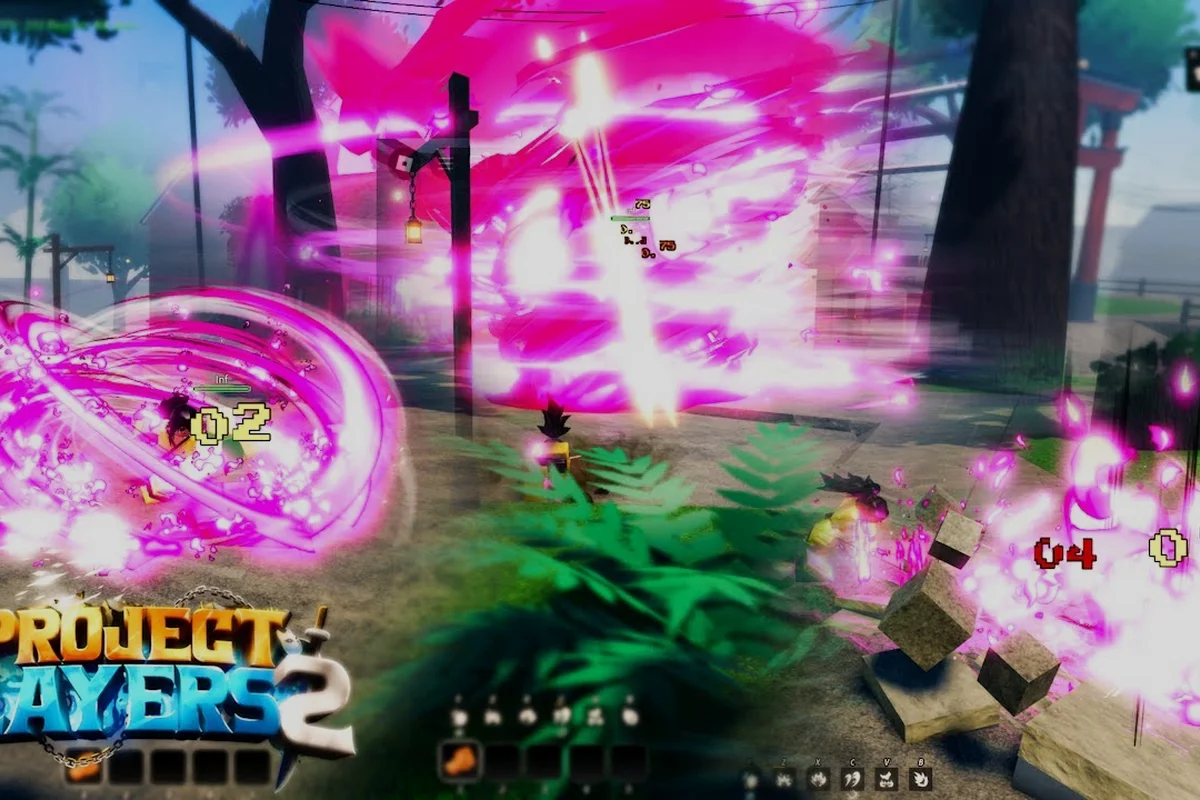
Slayers 2 Solo Boss Guide: Patterns & Easiest Targets
Solo every Slayers 2 boss with the easiest targets, attack pattern tells, and timing tips that let one player clear the hardest world bosses without a party.